**前后端分离:请对自己有动手能力的小伙伴进行尝试**
**请根据自己的实际情况对下面的步骤和内容进行调整**
```
linux:
git clone https://gitee.com/anji-plus/report.git
后端:report-code :
修改bootstrap.yml
maven package
java -jar
前端:report-ui :
修改前端config连接
BASE_API: '"./"',改成自己后端的api
npm install
npm run build
```
# linux部署后端
## 编译环境
- [Apache Maven] 3.5 +
- [Node.js] v14.16.0+
- [Jdk] 1.8
请在你的Windows上先准备好maven、node.js、jdk
**注**:已知**Jdk11**存在兼容性问题
## 克隆源码
git clone https://gitee.com/anji-plus/report.git
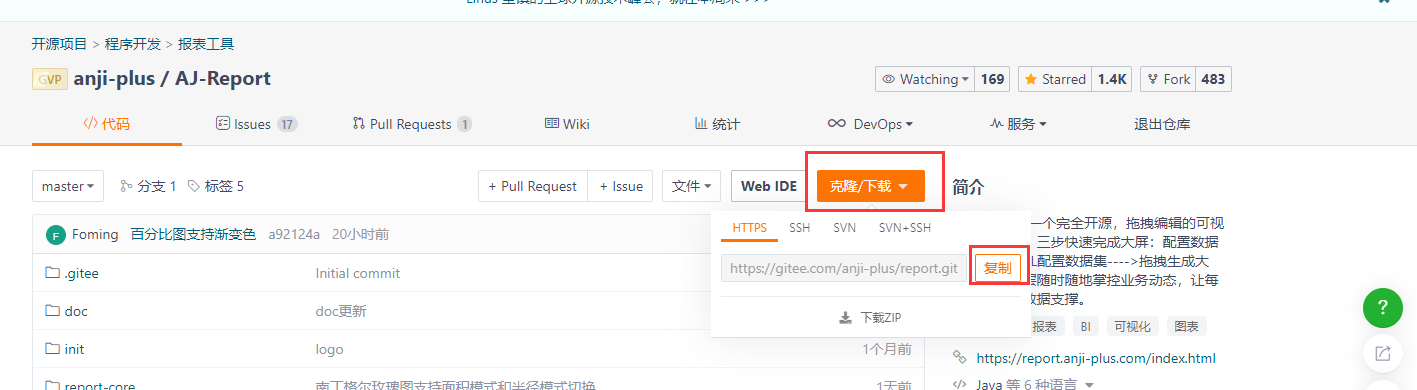
**注**:不要下载发行版里面的 Source Code.zip
## 修改mysql连接
report-core --> src --> main --> resources --> bootstrap.yml
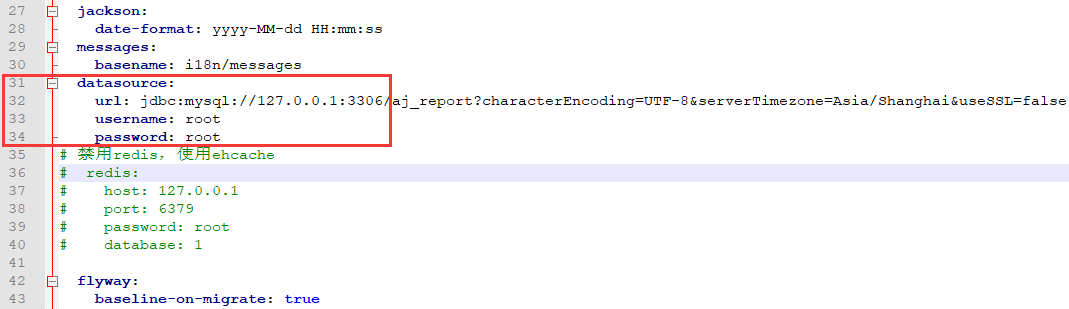
将图中关于mysql的连接配置信息换成你使用的IP
**注**:aj_report库是存放底层基础信息的库,flyway启动时会自动建立,如果你在这里修改了库,将会出错
**注**:请确认你的Mysql是否支持远程连接,登陆用户是否有DDL权限
## 修改路径
使用上传功能,必须修改此内容

## maven打包
使用 maven package
**注**:不要使用maven install
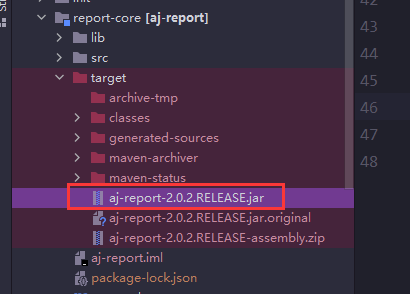
## linux启动jar包
将上步生成的jar包上传至linux,使用java -jar命令启动
**注**:请确保你的linux有jdk
# 本地启动前端
## 前端编译
进入前端目录:report-ui

执行 npm install
## 修改config
目录地址:report-ui --> config --> dev.env.js
修改你的BASE_API地址
## 启动前端
report-ui目录:
执行 npm run dev
# 前端build
## 前端编译
进入前端目录:report-ui

执行 npm install
## 修改config
目录地址:report-ui --> config --> prod.env.js
修改你的BASE_API地址
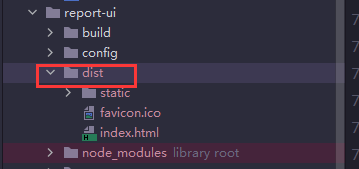
## build
reoprt-ui目录:
执行 npm run build
生成的前端dist目录文件在report-ui下面